Should maybe mention that I`m hiatusing till August, on account of not baking. But it`s ok, because the not baking is on account of being IN JAPAN.
Later!
April 7, 2009
Should maybe mention that I`m hiatusing till August, on account of not baking. But it`s ok, because the not baking is on account of being IN JAPAN.
Later!
March 14, 2009
Mine didn’t involve much math, but it did feature a chisel and a sledgehammer.
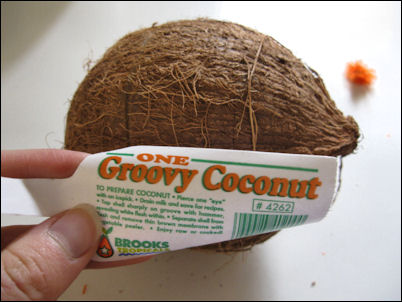
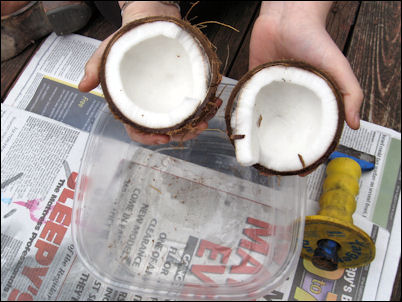
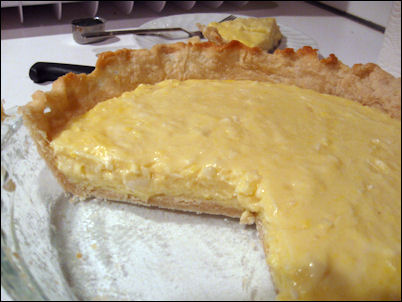
A few steps of this transformation miiight be missing. Or it could be a magical coconut. Crack it open and–POOF–instant pie!
March 13, 2009
“Who bakes their own bagels?” my mom asked.
Apparently me. Of all the things to make, it does seem a little silly. It’s not too hard to get delicious, fresh-baked bagels for cheap. But there’s a big difference between fresh-baked at a bakery and fresh-baked by your own hands in your own home.
While bagels may not be my favorite food (though they’re up there), they’re my most beloved, since I associate them with my best friend in the whole wide world. 😀
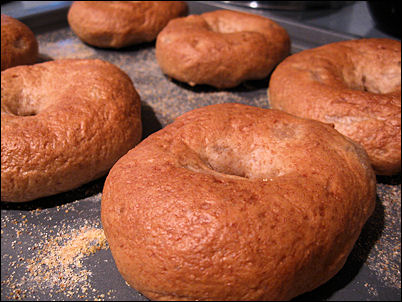
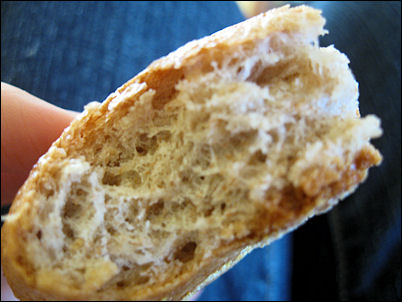
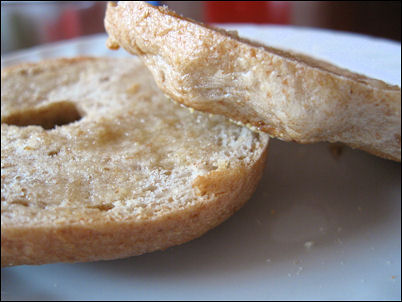
As I started comparing recipes, I soon discovered that even at the basic level none of them agreed on anything. Not how much yeast or sugar to use in proportion to the flour, not how long to let the dough sit for, not how long to boil them, not how long to bake them or at what temperature. So, a little skeptical about the hopes for the edibility of my final product, I improvised and, hurray, it worked!
1 packet yeast
1 cup warm water
1 tablespoon sugar
1 1/2 cup whole wheat flour
1 1/2 cup all-purpose flour
1 1/2 teaspoons salt
1. Dissolve yeast into warm water. Stir in sugar. Add 1/2 cup all-purpose flour. Let sit for 10 minutes.
2. Add the whole wheat flour, then the salt, and then the all-purpose flour a little at a time, adding a little bit more water as necessary to get all flour to form dough.
3. Knead the dough on a floured surface for 10 minutes. Cover with damp cloth and let sit for 20 minutes.
4. Divide dough into 8 balls. Make holes in center of balls and form bagel shapes. Cover loosley with plastic wrap and let sit 1 hour.
5. Bring a large pot of water + 1 tablespoon sugar to a boil. Boil bagels a few at a time, for about 5 minutes each, turning often with a slotted spoon. Remove and dry.
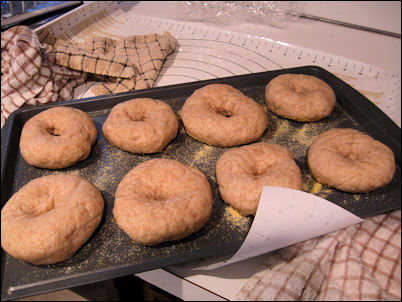
6. Place on greased, corn meal-covered baking sheet. Bake at 425 for 20-25 minutes, placing another baking sheet underneath after the first 10 minutes to prevent burnt bottoms.
6. Mm, fresh bread!
Next time I’m making sourdough bagels, since sourdough > all other bread, and they’re not quite so easy to find, especially not on this coast.
February 17, 2009
Amish Friendship Bread: the chain letter of baking. I think it’s the first I haven’t broken. Today it was finally time to turn my ten-day-old bag of fermenting goop into something delicious.
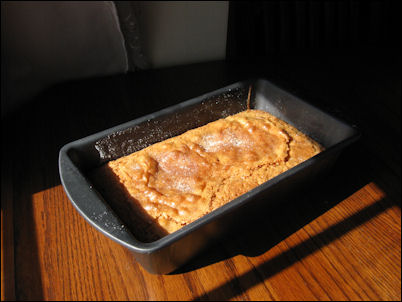
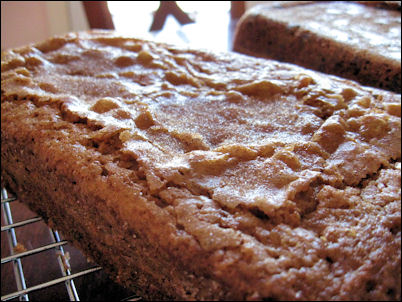
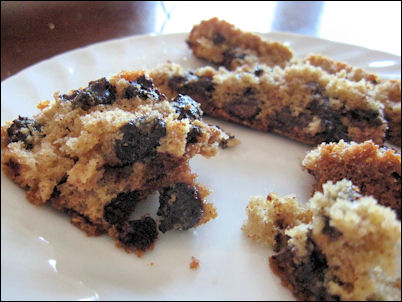
The only trouble I had was that it doesn’t cut so much as fall into pieces. Hrm.
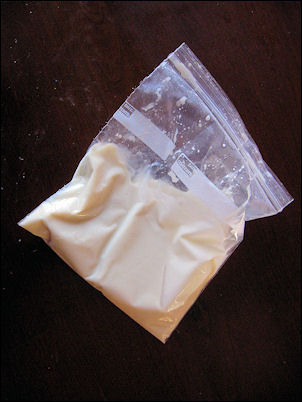
Now it’s a matter of finding more Amish-lovin’ people to pass it on to. Shouldn’t be hard. Who doesn’t love the Amish?
February 17, 2009
One of my coworkers wanted me to give her husband what she couldn’t this Valentine’s Day. So I did, and for cheap, too. A definite milestone: my first pie for pay. Didn’t screw it up. Don’t think I poisoned her husband (though I’m being optimistic–I haven’t heard either way). Whoo.
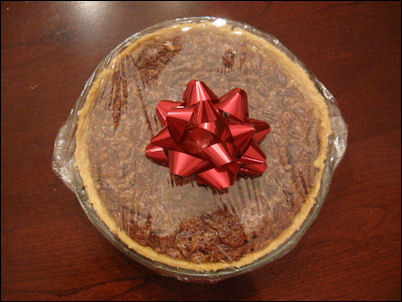
Dough for dough. Works for me.
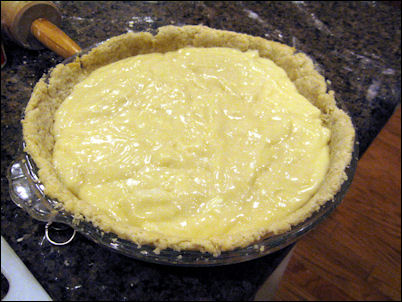
Also got to make banana cream pie for Caroline’s family, and it only took the sacrifice of two pre-made pie crusts and (momentarily) my dignity). It’s not the prettiest, but it’s tasty…at least if you like banana.
February 17, 2009
These vegan oatmeal cookies went on an epic journey, braving the US postal service, to get to my friend Kelli.
After a lot of comparing, I went with this recipe, using peanut butter and walnuts, substituting dried cherries for the chocolate chips, and adding a couple teaspoons of cinnamon (because it is my go-to secret ingredient).
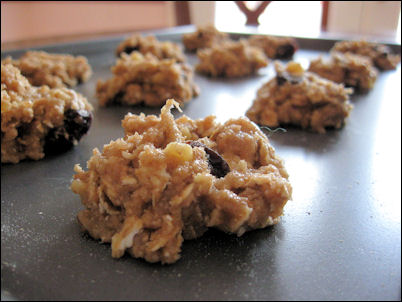
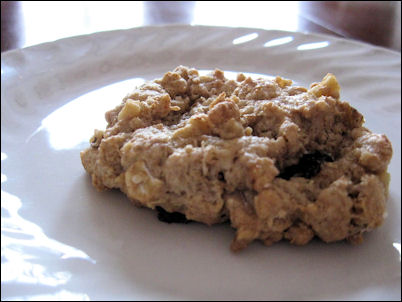
The problem I’m beginning to notice with taking pictures of baked goods: I take the same pictures over and over.
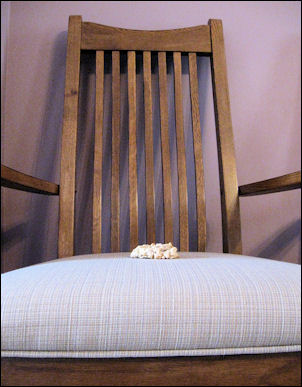
More dramatic pictures often seem silly.

Plus, the models have an unfortunate tendency to disappear quickly before I can dream up more creative shoots. Maybe I’ll have better luck in the future? I am contemplating cut-paper backdrops or something (anything!) to mix it up a little. Possibly this is absurd.
January 25, 2009
Dude, I won stuff for these. They’re tasty. People like them. Go make them.
Inspired by–what else?–The Taste of Home Baking Book. But made vegan. And therefore WAY COOLER.
2 ½ cups + 2 tablespoons flour, divided
2 cups old-fashioned oats
1 ¼ cups sugar
2 teaspoons baking powder
2 teaspoons cinnamon
1 cup (2 sticks) Earth Balance vegan butter, melted
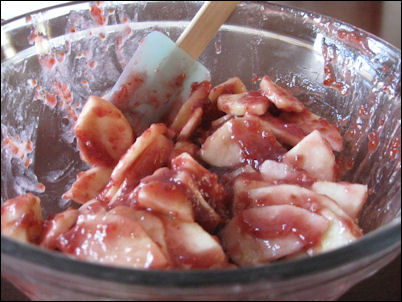
3 cups thinly sliced peeled organic Granny Smith apples (about 2)
1 jar (12-13oz.) organic raspberry preserves
½ cup finely chopped walnuts
1. Preheat oven at 350º if your oven is crazy and runs high like everyone I’ve ever used. Otherwise, 375º.
2. In a nice big bowl, mix the 2 ½ cups flour, oats, sugar, baking powder and cinnamon. Beat in melted butter. Measure out 2 cups and set aside for later.
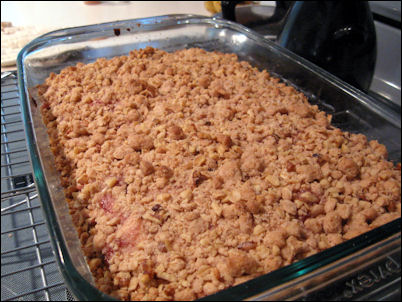
3. Press the rest into the bottom of a 13×9 pan. Bake for 15 minutes.
4. In another bowl, toss apples with 2 tablespoons flour and stir in preserves. Spread over the crust as soon as it comes out of the oven.
5. Add the nuts to the oat mixture you set aside. Sprinkle it over the top. Then shove it back in the oven for another 30-35 minutes or until lightly browned.
6. Cool completely. Cut into bars.
7. Serve. Wow crowds. Make tummies happy.
Next time I bake, I need to remember this: DON’T DROP THE OVEN DOOR ON YOUR FOOT. In my old house, the hinge kept the oven door from going all the way to the ground. But here… I’ve had purple toes twice already and I don’t want to do it again! My mother was not impressed by my language.
Anyway. I’ll stop rambling and stick in the pictures.
January 9, 2009
1 ½ cups flour
¼ cup sugar
½ cup brown sugar, packed
½ teaspoon baking soda
½ teaspoon salt
½ teaspoon cinnamon
1 egg
1/3 cup vegetable oil
½ cup milk
1 teaspoon vanilla extract
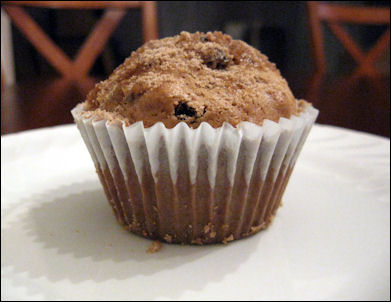
½ cup currants
½ cup boiling water
½ cup pecans, finely chopped
1. Preheat oven to 375º
2. In small bowl, combine boiling water and currants. Let sit for 5 minutes, then drain.
3. Combine flour, sugar, brown sugar, baking soda, salt, and cinnamon. In a separate bowl, mix egg, oil, milk, and vanilla. Stir into dry ingredients. Fold in pecans and currants. (Be gentle with the currants.)
4. Fill paper-lined muffin cups two-thirds full. Bake for 20 minutes or until toothpick comes out clean. Cool and enjoy.
We buttered the tops and sprinkled on brown sugar mixed with some flour and a bit of cinnamon as an afterthought.
Makes 1 dozen.
Recipe by me and my friend Erin! Inspiration from the usual sources.
January 6, 2009
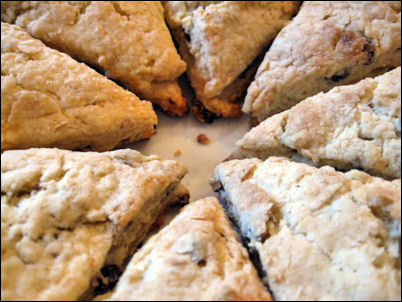
In my exploration of the wonderful world of tasty baked goods, up until about a month ago, I’d steered clear of scones. The avoidance wasn’t necessarily intentional–when I came by scones there were always other choices that seemed far more appealing (and by “other choices” I mean MUFFINS)–but they did have a bad reputation. I’d heard terrible, terrible things about scones. “Hard as rock” and “tasteless” were among the repeatable.
I had my first scone on a whim at The Whistling Kettle in Ballston Spa, NY, and from the first bite, everything changed. It was raspberry and it was incredible: warm, moist, crumbly, and filling. Since then, I’ve developed a small obsession with scones (and, for that matter, tea rooms: I can now whole-heartedly recommend Gypsy’s Tearoom in Westminster, MD and their butterscotch scones, as well, and I’m looking for a reason to get to Sweet Simplici-Tea in Sykesville, MD.)
So, is the slander against scones warranted? Probably, in many cases. But not if you follow these rules:
1. Scones should be fresh.
2. Scones should be served warm.
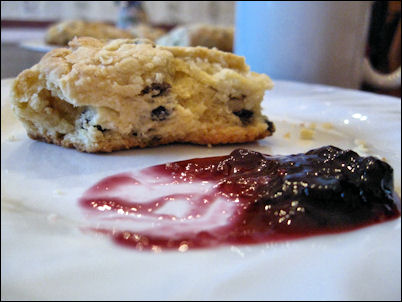
3. Scones should be served with jam.
4. Scones should be made from a good recipe.
The rest of this post is a testament to Rule #4–the most important one. I got the following recipe from Rob’s mom, and it makes some damn good, basic scones. They’re flavorful enough to enjoy on their own, but pairing them with jam (locally-made, if you can) makes them just about heavenly.
Currant Cream Scones
¼ cup currants
¼ cup boiling water
1 ¾ cups flour
1 teaspoon baking powder
¼ teaspoon baking soda
¼ teaspoon salt
6 tablespoons unsalted butter, cut up
¼ cup sugar
¾ cup heavy cream
1. Pre-heat oven at 425º.
2. Boil water. In a small bowl, combine water and currants. Set aside for 5 minutes, then drain.
3. In separate bowl, combine flour, baking powder, baking soda, and salt. Stir with a fork.
4. Add butter and cut in with a pastry blender until the mixture resembles coarse crumbs.
Stir in sugar. Stir in heavy cream. Stir in currants carefully until large clumps form. Add more cream if it’s not clumpy enough. Don’t allow it to come together to form dough.
5. Turn out clumps onto floured pastry mat or counter. Cut through clumps with a pastry scraper/knife and then mush it all together into a ball of dough. Flatten the ball into a cake.
6. With a rolling pin, roll the dough into a circle about ½-inch thick and 7 ½ inches across. Cut the round in half. Cut each half into fourths to make 8 triangles.
7. Transfer scones onto a greased baking sheet and sprinkle with more sugar.
8. Bake for 15 minutes or until lightly browned.
The original has you mix everything in a food processor, but what can I say, I like the traditional. This recipe is a solid foundation to experiment off of—just take out the currants and replace with whatever. I, however, will be making currant scones for a long time, since I could only find the little shrively things in a 2 cup-package. At least it gives me a reason to make a ton more scones. XD
January 5, 2009
My dad turned old, so Rob and I made a cake of mockery. Loving mockery.


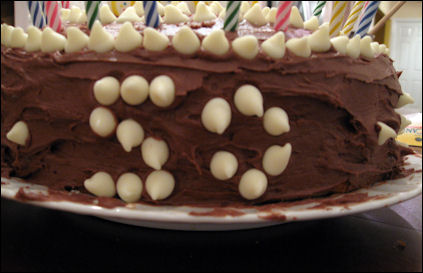
(But mockery, nonetheless.)